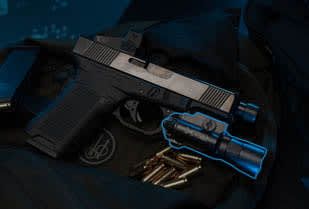
The video opens with two different pistol carry and draw setups. One is an inside‑the‑waistband configuration using a T.Rex Arms sidecar‑style holster. The pistol is a Glock 17 equipped with an Aimpoint ACRO red dot and a SureFire X300 weapon light, with Tier 1 Concealed wedges added for extra comfort. The other setup is an outside‑the‑waistband duty‑style rig from Poppies of War, using a Safariland 6354DO holster with active level‑two retention. Both shooters draw from their respective holsters and get rounds on target, setting up the discussion of three core tips that apply regardless of whether the pistol is carried IWB, OWB, in Kydex, or in a retention holster.
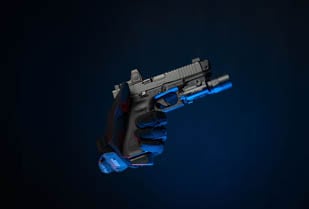
The first tip is achieving a true master grip on the pistol from the moment it is retrieved from the holster. A partial or sloppy grip can lead to malfunctions such as stovepipes and inconsistent control, sometimes described as limp‑wristing. The dominant hand does the initial work, establishing a full firing grip before the pistol leaves the holster. As the support hand joins, the fingers and thumbs stack—finger over finger, thumb over thumb, knuckles aligned—so both hands meet and lock together. After the hands marry up, more pressure is shifted to the support hand while slightly easing the dominant hand. This reduces excessive tension that can cause unwanted wrist movement when pressing the trigger. The key is to get and keep that master grip whether drawing from inside the waistband, the hip, or other carry positions.
The second tip focuses on sight alignment, whether using iron sights or a red dot such as the Aimpoint ACRO. The concept of equal height and equal light still applies, but the emphasis is on how the shooter brings the pistol to the eyes. Instead of moving the head around or shrinking down to the gun, the head should remain as stable as possible. The pistol is driven out to eye level, and only small, micro adjustments are made with the hands to align the sights or dot. Adding unnecessary head movement introduces more variables and slows down the process of getting a clear sight picture. This technique can be practiced easily with dry fire at home, reinforcing consistent presentation and faster sight acquisition with both irons and optics.
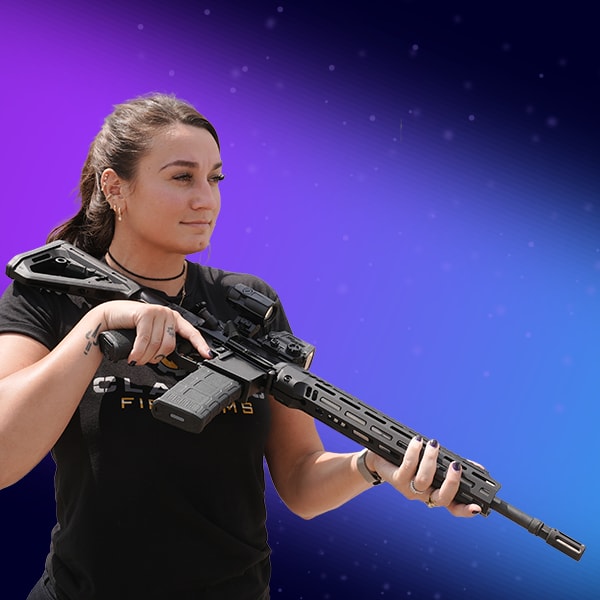
The third tip addresses recoil mitigation and how body position affects control. Simply locking the arms out rigidly and tensing every muscle is not the most effective way to manage recoil and can lead to fatigue. Different shooters may use isosceles or Weaver‑style stances, but the principle is to avoid being overly tense when mounting the pistol. A slight bend in the elbows allows the arms to act as shock absorbers, helping to manage recoil and enabling quicker lateral movement between targets. The grip is treated like pulling apart a horseshoe, using opposing hand pressure to lock the wrists and rely on bone structure for rigidity rather than pure muscle strength. This approach supports better recoil control, reduces over‑ or under‑swinging on transitions, and helps maintain consistent hits.
The video closes by framing these three points—master grip, stable sight alignment, and efficient recoil mitigation—as foundational skills rather than rigid rules. Different shooters come from different training backgrounds and may have learned alternative methods, but these techniques are presented as useful for both new and experienced pistol shooters. Viewers are encouraged to evaluate how these ideas fit into their own practice, including dry‑fire work at home and live‑fire sessions from various holsters and carry positions. The instructor invites comments on additional tips, variations that have worked for others, or aspects that might be equally important in developing consistent pistol performance.